
Figma finally supports typography variables after teasing us since last June. During the ‘Framework by Figma’ in April, they announced multiple features that made it feel like a mini Config.
Though I’m always excited by Figma’s new features, it can take me a minute to sit down and learn how to use them. This is especially true when I need to change my thinking about the structure of foundational styles.
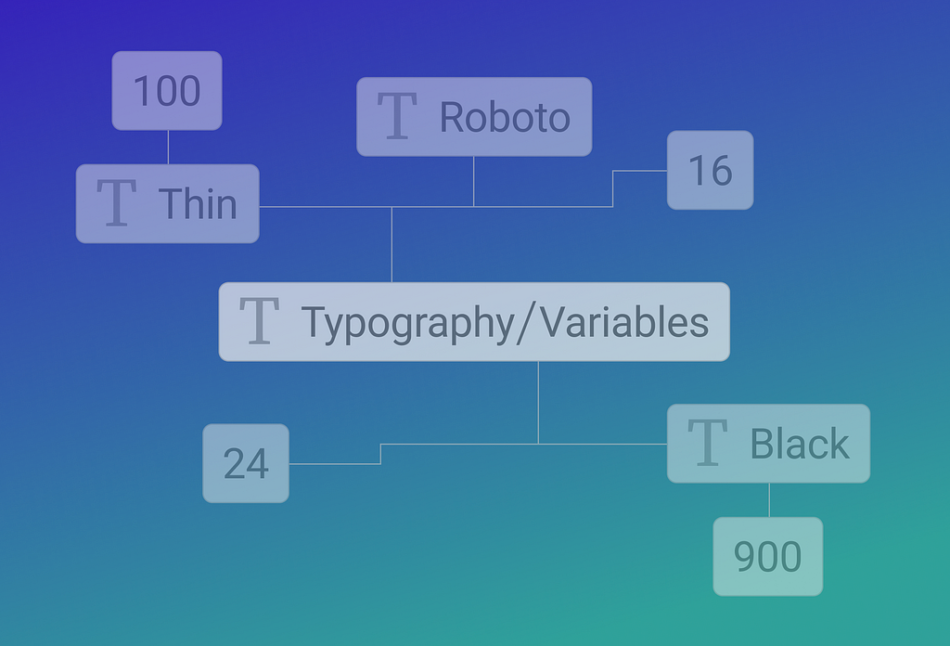
Typography variables in Figma
Learning how to apply typography variables wasn’t difficult. After some initial trials and errors, I started to see the value that typography variables bring.
You can control and bulk-edit your typography with a few clicks. Do you need to change the letter-spacing for all text styles by 0.25px? Instead of having to individually change each style, typography variables gives you the power to change it in one place. Then, it takes effect in all instances.
Let’s dive into setting up some typography variables so you can gain this power and save some time down the road.
Table of contents:
Set up text styles (if you don’t already have them)Variables for font familiesVariables for font weightsVariables for font sizesVariables for font line-heightsTypography modesVariable scoping
1. Set up text styles (if you don’t already have them)
I hate to break it to you, but you can’t create typography variables without an existing text style. After creating all my color variables natively in the local variables popup, I assumed I could do the same with typography. (Figma hit me with the “No you cannot.”)
So before you can dive into creating typography variables, you must create some text styles. If you have a Design System, you probably have existing text styles and can skip this step.
Steps:
1A. Create a text layer and modify the font family, weight, size, etc.
Design text styles
1B. Select the grid icon next to the ‘Text’ property → Select the plus (+) icon in the ‘Text styles’ popup
Create a text style
1C. Name the style and give it a description (how to use the style)
Name and describe the text style
1D. Repeat 1A to 1C for all needed text styles
Note: You will be able to see all created text styles in the file’s design panel.
Local styles appear in the design panel
2. Variables for font families
Changing font families for an established Design System or company is pretty rare, but this will expedite the process if it ever happens.
If anything, it’s good practice to have the font family documented in the local variables so all text properties are controlled by variables.
Steps:
2A. Open the local variables popup → Select ‘Create variable’ → Select ‘String’
Note: Use a string variable since the font family is a named value.
Select ‘String’ for the variable type
2B. Name the variable (I.E., Font/ Family/ Headings)
Note: The forward-slash (/) creates automatic groups in Figma.
Name the font family
2C. Repeat 2A to 2B for all font families (you may only need one)
Tip: Use ‘Shift+Enter’ to duplicate variables so you don’t have to type “Font/ Family/ Heading” each time.
Font families for headings and body text
2D. Link the font family variables to text styles
Select ‘Edit style’ next to the text style → Select the font family → Select ‘Apply variable’ button → Select the font family variable
Note: A grey pill with the variable name will replace the font family name in the text style.
Apply the font family variable to a text style
2E. Repeat 2D for all text styles
To change the font family in the local variable, you must manually type in the font name verbatim. Also, make sure the design file has the font family included or the change won’t do anything.
3. Variables for font weights
Font weights can use ‘String’ or ‘Number’ variables depending on how you name them. If naming numerically, such as 100 to 800, use a number variable. If naming with an alias, such as Thin to Black, use a string variable. For this demo, I used a string variable.
Steps:
3A. Create a ‘String’ variable and name it (I.E., Font/ Weight/ Bold)
Create string variables for font weight
3B. Repeat 3A for all font weight variables
Note: Make sure naming is consistent and creates a clear hierarchy.
3C. Link the font weight variables to text styles
Select ‘Edit style’ next to the text style → Select the font weight dropdown→ Select ‘Apply variable’ at the bottom → Select the font weight variable
Apply the font weight variable to text styles
3D. Repeat 3C for all text styles
Important note: The font weight variable name must match the font family’s given weight names. For instance, let’s say I changed the font weight variable name from ‘Bold’ to ‘XBold’. The font family has a font weight name for ‘Bold’, but not ‘XBold’.
Choose variable names for font weights that match the font family
The variable change will not do anything to the text styles because it’s not correctly mapped to the font family’s nomenclature. So when naming variables, make sure they match the font family’s weights.
4. Variables for font sizes
Now let’s make some number variables. Similar to font weights, font sizes can have different names depending on your typography needs. For this demo, I’ll use t-shirt sizes.
Steps:
4A. Create a ‘Number’ variable and name it (I.E., Font/ Size/ XXL)
4B. Update the variable’s value with the correct font size
Create t-shirt sizes for font size variables
4C. Repeat 4A to 4B for all font size variables
4D. Link the font size variables to text styles
Select ‘Edit style’ next to the text style → Select the font size dropdown→ Select ‘Apply variable’ at the bottom → Select the font size variable
Apply font size variables to text styles
4E. Repeat 4D for all text styles
5. Variables for font line-height
Setting up variables for line-height might feel identical to font sizes… because it is. Whichever naming conventions chosen for font sizes should be used for line-heights to maintain consistency. So, I’ll continue to use the t-shirt sizes.
Steps:
5A. Create a ‘Number’ variable and name it (I.E., Font, Line-height, XL)
5B. Update the variable’s value with the correct line-height
Create t-shirt sizes for line-height variables
5C. Repeat 5A to 5B for all line-heights
5D. Link the font line-height variables to text styles
Select ‘Edit style’ next to the text style → Select ‘Apply variable’ next to the line-height value → Select the font line-height variable
Apply font line-height variables to text styles
5E. Repeat for all text styles
6. Typography modes
After creating the variables, modes may be needed for responsive typography styling. For instance, font sizes are typically bigger on desktop versus mobile screens. You can create modes so the variables do the work for you.
For this demo, I named the existing mode for the variables ‘Desktop’, and the new mode ‘Mobile’.
Steps:
6A. In the local variables popup, select the ‘New variable mode’ or plus (+) icon to create a new mode
Create a new variable mode in the local variables popup
6B. Make needed changes to the variable’s values in the new mode
Note: Some variables will remain the same across modes.
Make variable changes in the new mode
6C. Apply the variable mode to a frame in the canvas
Select the frame → Go to the Layer property in the design panel → Select ‘Change variable mode’ → Select the variable collection then mode
Apply the variable mode to a frame
6D. Repeat step 6C for a mobile-sized frame in the canvas
6E. Test the variable mapping
Typography modes help update font styling automatically
7. Variable scoping
Scoping for typography variables was recently released at the end of May. So if you already created some typography variables after Framework by Figma, it’s time to go back and add scoping to them.
Scoping prevents misuse and helps the find-ability of specific variables. For instance, you wouldn’t want to use line-height variables for font sizes or vice-versa.
Steps:
7A. Open local variables and select ‘Edit variable’ for one variable
Edit a variable in the local variables popup
7B. Swap to the ‘Scoping’ tab in the edit menu that appears
View the ‘Scoping’ tab to see applied properties
7C. Unselect properties that the variable doesn’t apply to
(I.E., Font weight doesn’t apply to font family.)
Unselect properties the variable doesn’t apply to
7D. Repeat 7C for all variables
Note: Number variables have more properties they can be applied to, so more properties have to be unselected.
Scope all typography variables
7E. Check the variable scoping
When selecting a variable for line-height, only the line-height variables appear.
Only scoped variables appear for their corresponding properties
That wraps up just a few of the things you can do with typography variables! Pretty powerful, right?
I demoed variables for font family, weight, size, & line-height, but you can do more. Variables for letter and paragraph spacing can also be created using number variables following the same steps.
I bet there’s more coming with typography variables. Maybe we will get the ability to add more properties like letter casing or alignment? It is the month of June, so 2024 Config is right around the corner.
We will see in less than two weeks. Stay tuned!
Setting up typography variables in Figma was originally published in UX Collective on Medium, where people are continuing the conversation by highlighting and responding to this story.


